In this article I want to show you how to add a windows host to your check_mk monitoring. Download the den Windows Client check_mk_agent.msi found at WATO - CONFIGURATION > Monitoring Agents.

Get this file onto the target system somehow. Starting the MSI, in some windows versions, you have to confirm the installation since this package is not signed.
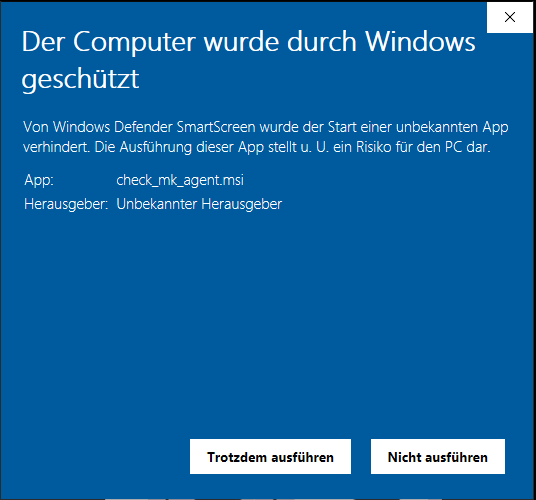
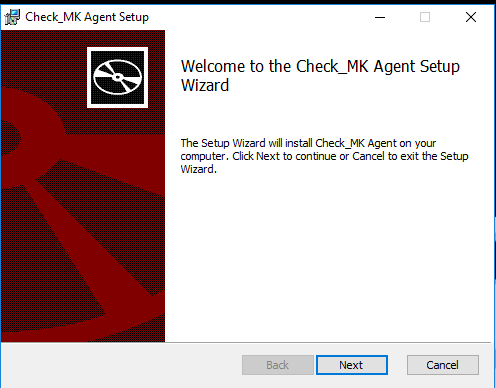
The installation of the client itself boils down to next, next and finish. You can also silently deploy the MSI.
Now we have to setup a windows firewall exception for the monitoring agent. Start a CMD with elevated rights and paste the following command.
netsh advfirewall firewall add rule name="Check_MK" description="Monitoring" dir=in localport=6556 protocol=tcp action=allow program="%ProgramFiles(x86)%\check_mk\check_mk_agent.exe" profile=private,domain enable=yes
Now we add the windows host. Go to WATO - CONFIGURATION select Hosts and click on New Host.

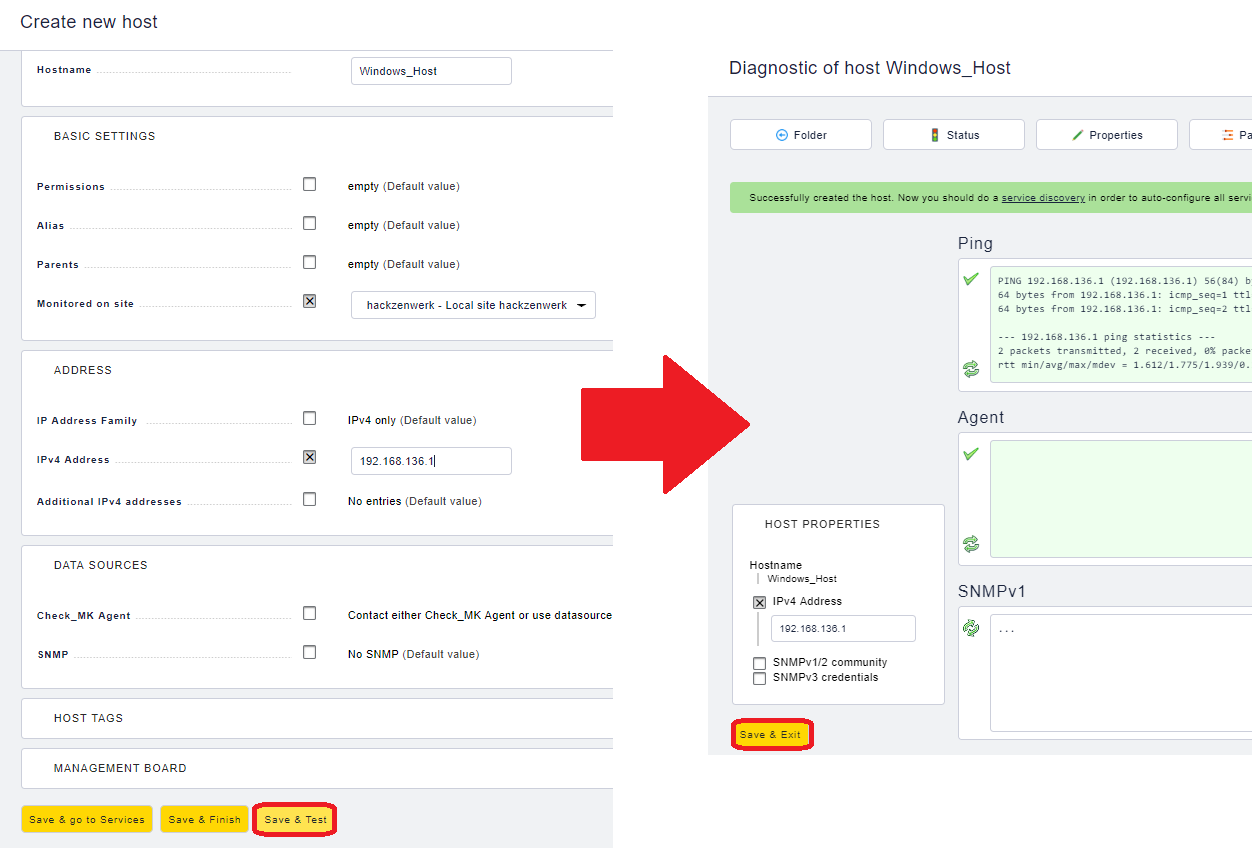
Now give the Host a Name, add it to a Site and confirm with Save&Test. When the tests are successful confirm with Save&Exit.
Switch to Services, confirm the preselected services with Monitor and click on the pending Changes.
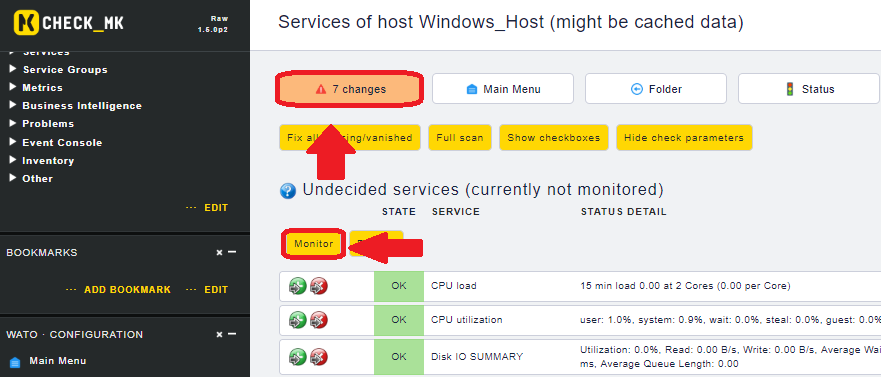
Here you activate the changes made to the site.

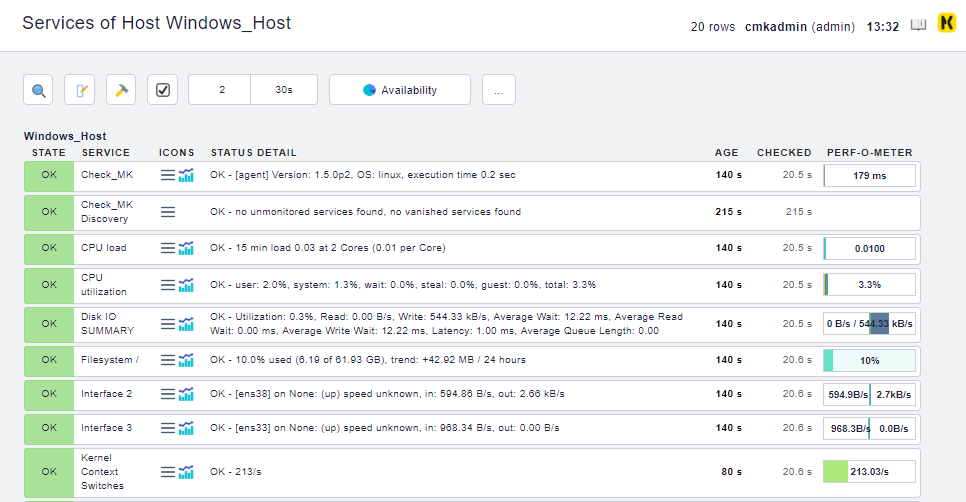
Finally check that the host is visible at Views > Hosts > All Hosts and is showing some Data.
Cheers, Ori