In this article I will describe how to get MaSSHandra running on an Ubuntu 18.04. As alwaysI recommend not running the service natively on your server but rather to run it in a VM.
Preperation
First things first. Update your sources and install pending updates.
sudo apt update -y && sudo apt upgrade -y
Now we install the following packages:
- Sendmail - will be used to send emails to the MaSSHandra users
- NodeJS - will run the services
- npm - Node packet manager, will be used to update NodeJS
- mysql - an SQL Server, that is going to hold MaSSHandras data
sudo apt install -y sendmail nodejs npm apache2 mysql
Now we empty the npm cache and install the current version of node.
sudo npm cache clean -f sudo npm install -g n
The command node -v should now be showing a Version above 10.0.

Clone the git repo to your home diretory. git clone https://github.com/pablomarle/networkmaps
Now we create a few directories MaSSHandra is going to use.
sudo mkdir /etc/networkmaps/ sudo mkdir /sendmail/ sudo mkdir /sendmail/queue/ sudo mkdir /sendmail/sent/ sudo mkdir /diagrams/
SQL Database
First we are going to harden the SQL Database a bit. Mysql comes with a script that is going to interactivley ask you a few settings to make it a bit more secure.
sudo mysql_secure_installation

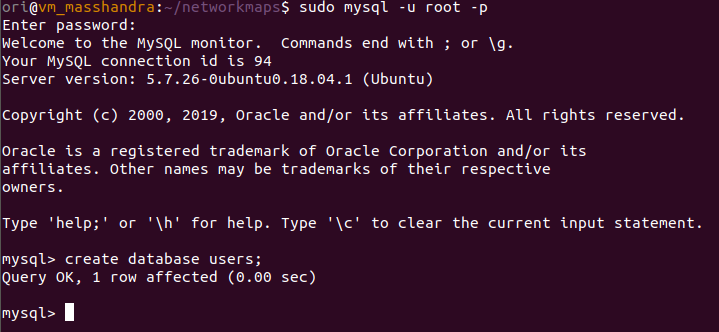
Now login to mysql.
sql -u root -p
Create a database that MaSSHandra will later use to handle users. create database users;

You can ofcourse use another database name then users if you want. Just make sure that you use this altered name on the database import and later when configurung the config.json.
Logoff by typing
exit;
Import the sql database included in the git repo. There are no users in there, however a bunch of tables that will handle users, passwords (binary64 with salt), diagrams and permissions.
mysql -u root -p users < ~/networkmaps/database_schema/users.sql
Now log back into mysql. sql -u root -p
We will now create a SQL user that MaSSHandra can use to access the database. Please change “YourMasshandraSqlPassword”. Here you can use a username of your choice that later will be put in the config.json.
CREATE USER 'masshandra'@'localhost' IDENTIFIED BY 'YourMasshandraSqlPassword'; GRANT ALL ON Users.* TO 'masshandra'@'localhost' IDENTIFIED BY 'YourMasshandraSqlPassword' WITH GRANT OPTION;
Then reload the sql permissions and exit mysql. FLUSH PRIVILEGES; EXIT;
LetsEncrypt
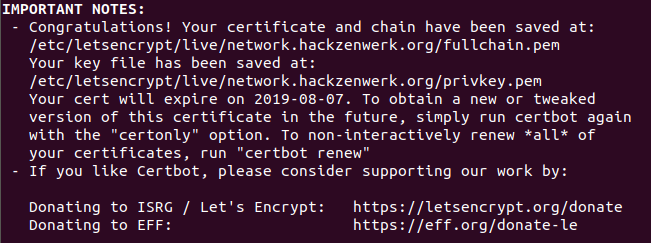
To secure our webserver with valid SSL certificates we generate an certificate using LetsEncrypt Ubuntu comes with certbot installed nativley.
sudo certbot certonly -d your.website

MaSSHandra configuration
So far so prepearing. Lets now head over to tweaking masshandras settings.
MaSSHandra is expecting a configuration file at /etc/networkmaps/config.json So we copy the example config included in the git repo to that location.
sudo cp ~/networkmaps/docs/sample_config.json /etc/networkmaps/config.json
In it, change the settings marked in red:
{ “comment”: “This file is expected to be in /etc/networkmaps”, “timers”: { “usertimeout”: 3600, “savediagram”: 300 }, “use_ssl_socket”: true, “use_ssl”: true, “socket”: { “address”: “IP OF YOUR SERVER”, “port”: “3000”, “cert”: “/etc/letsencrypt/live/your.website/fullchain.pem”, “key”: “/etc/letsencrypt/live/your.website/privkey.pem”
}, “server”: { “hostname”: “your.website”, “port”: 3000 }, “staticserver”: { “hostname”: “your.website”, “port”: 443 }, “db”: { “users”: { “database”: “users”, “host”: “localhost”, “user”: “masshandra”, “password”: “YourMasshandraSqlPassword” } }, “diagrams”: { “path”: “/diagrams/” }, “sendmail”: { “queue”: “/sendmail/queue/”, “sent”: “/sendmail/sent/”, “server”: “your.mailserver”, “port”: 465, “is_secured”: true, “user”: “mailuser@your.mailserver”, “password”: “YourMailPassword”, “from”: “your.website.url ” } }
Starting the server
Now we start the services that will open a websocket on :3000 and handle the emails.
sudo node ~/networkmaps/server.js sudo node ~/networkmaps/smtp_daemon.js
Remember that you can send the processes to the background by appending & to the command. Leave them as they are if you want to debug.

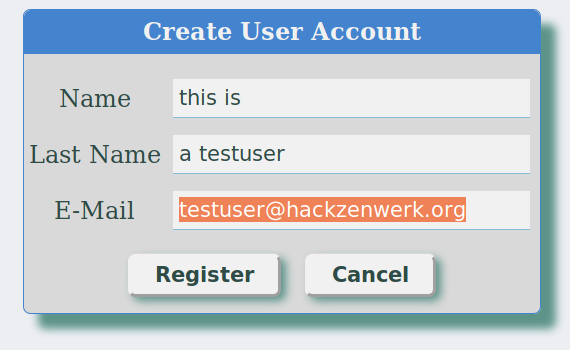
When you now head over to your MaSSHandra instance and register a user, you sould see some logs.


Once you confirmed the Email you should be able to login and use MaSSHandra.
Cheers, Ori