This article describes a simple configuration of a WatchGuard firewall, in this case a M200, and is based on:
Recovery Mode
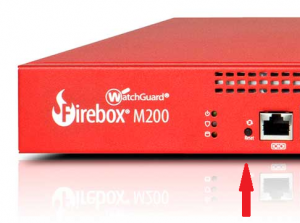
At first you should set the firewall into the recovery mode by pushing the Reset Button while starting the firewall.

Depending on the model there is either a screen showing that the dicive is booting into recovery mode or there is, like in this case, a red LED.
In recovery mode the firewall is loading a configuration that has the same characteristics on every model:
- eth0: Is configured as an ‚External‘ interface and will try to obtain an ip address via DHCP
- eth1: Has the IP address 10.0.1.1
- eth1: Is providing IP addresses in the range from 10.0.1.2 to 10.0.1.254
- Has the user „status“ with the password „readonly“
- Has the user „admin“ with the password „readwrite“

Base configuration
We connect to eth1 and connect to the firewall using the the WSM using “Connect to device” and the IP address 10.0.1.1.
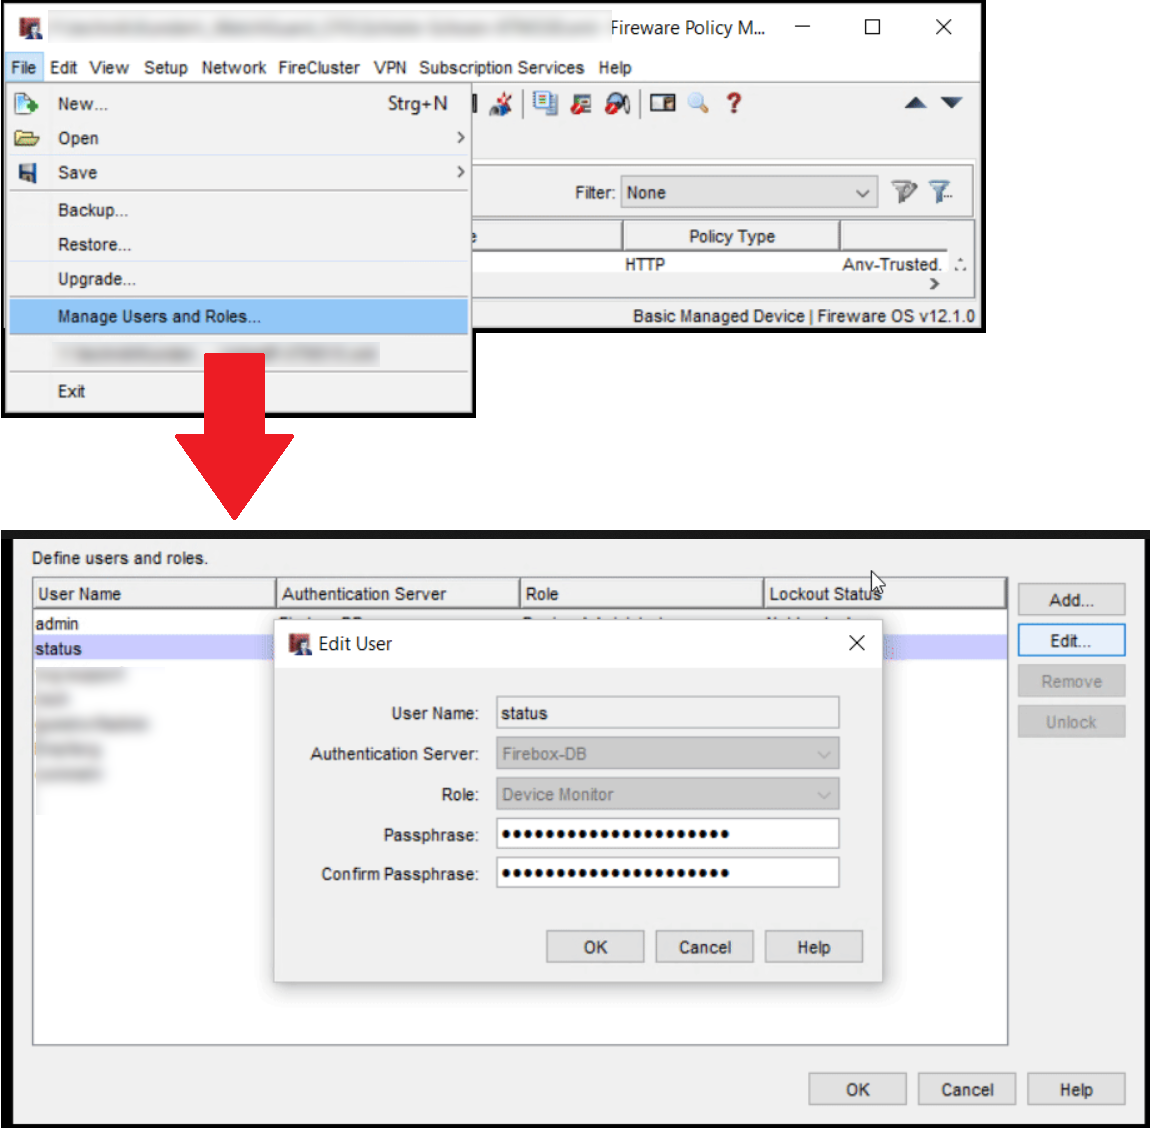
Now we start the Policy Manager and change first of all the passwords of the default users:
File > Manage Users and Roles

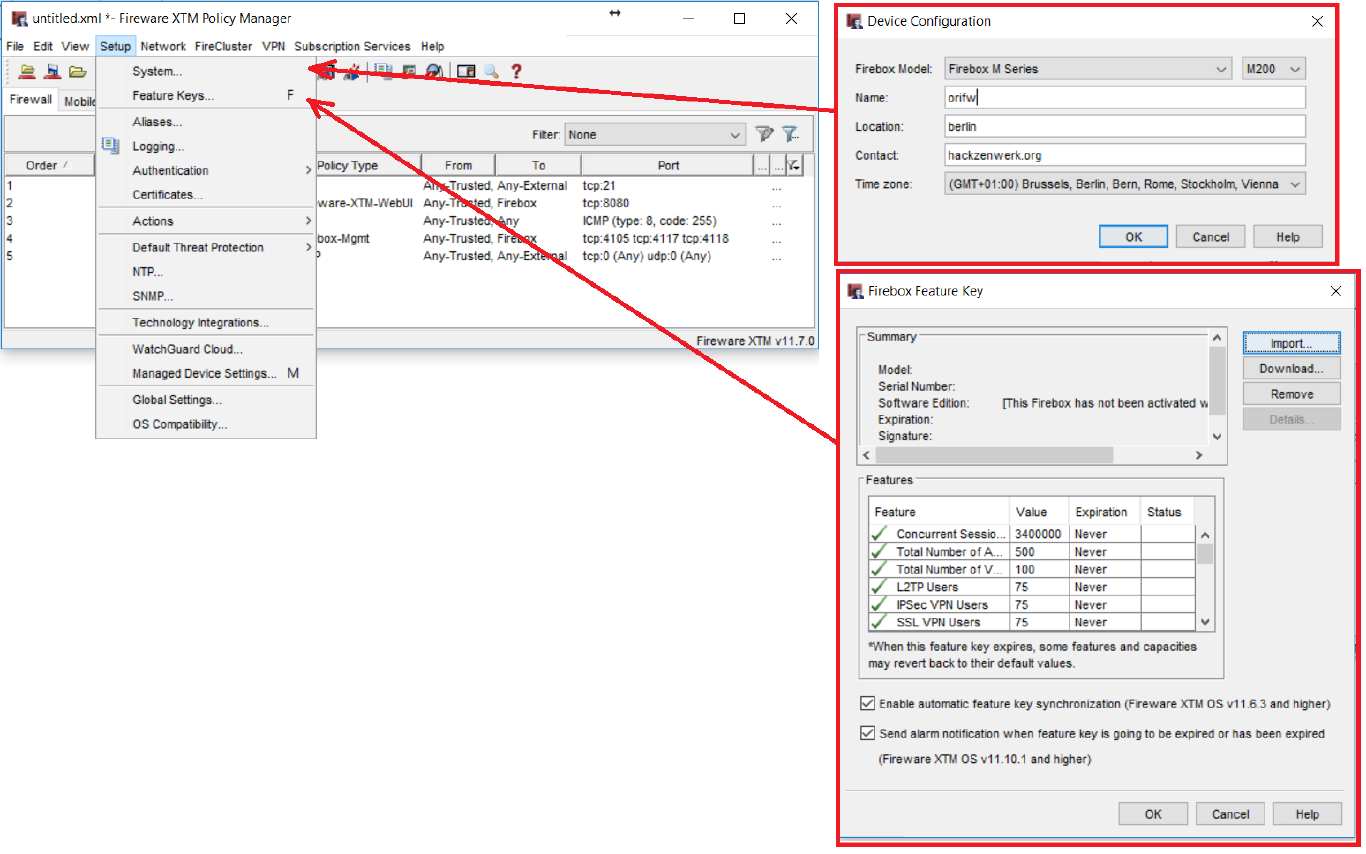
Afterwards give the Firewall a name and enter the license, the so-called “feature key”. The key is a plain textfile you obtain from registering the serial number to your account on the WatchGuard.com portal and click on “get feature key”.

Now you could plug the uplink into port 0 and the switch to port 1.
Since interface 0 is already configured as “External”, interface 1 as “Trusted” with configured DHCP and there is already a firewall rule that allows the traffic from Trusted to External.
However I still want to show you to how you can setup another Network on interface 2.
Open the network configuration by going to Network > Configuration.
Doubleklick on eth2 and change the type of the Interface from Disabled to Trusted and change the Network if you want. Afterwards change the DHCP settings and configure a DNS server in the DHCP options.

Cheers, Ori