In this article I want to show you how to configure a basic meraki setup.
Devices
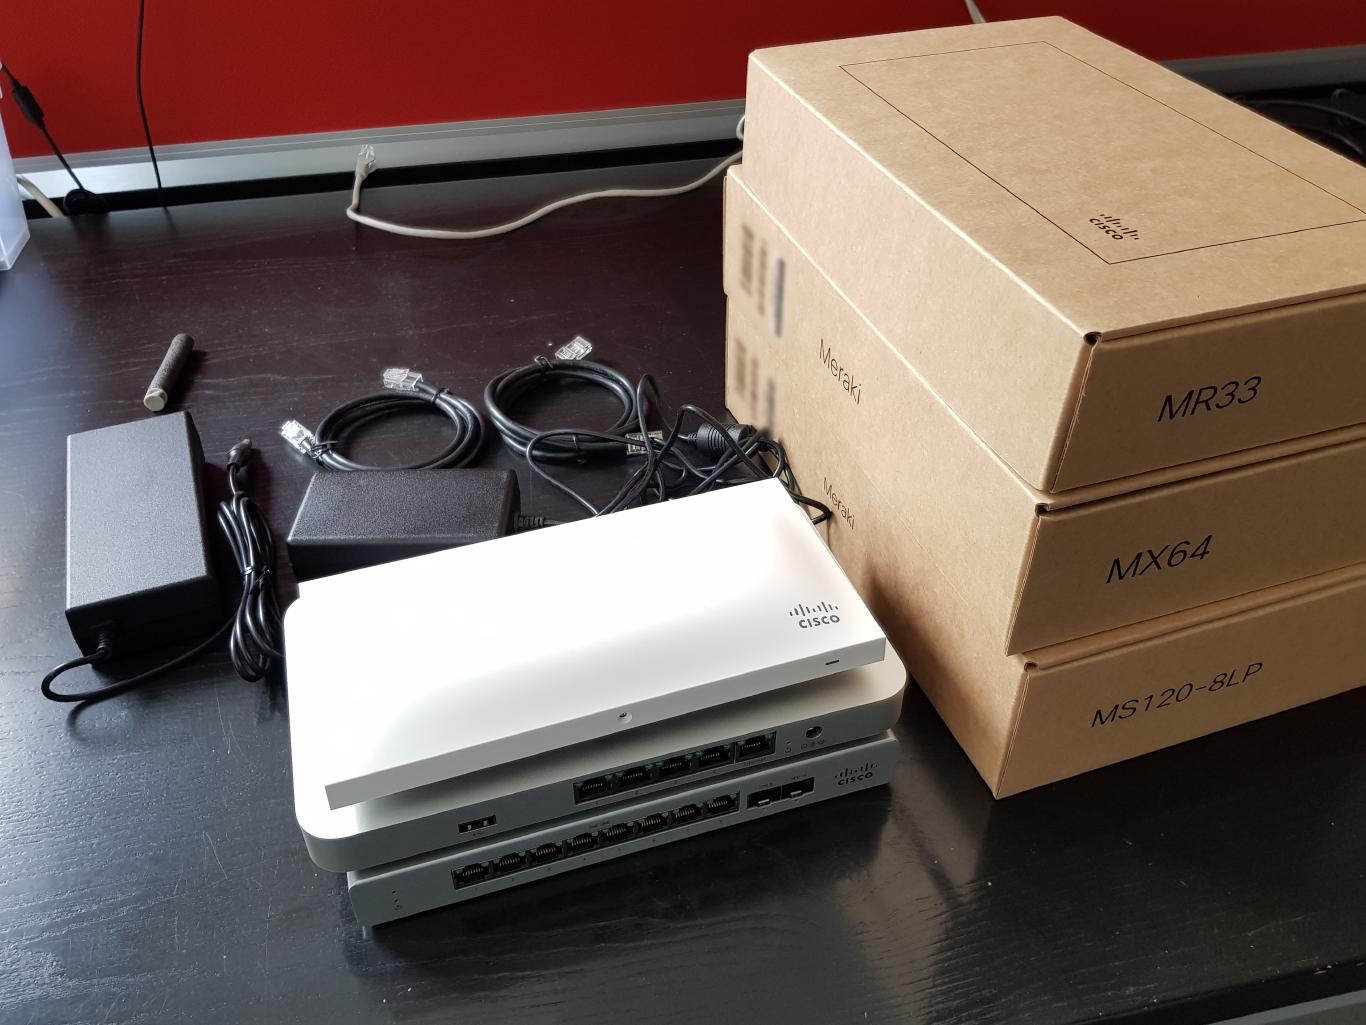
I am going to use the following devices:
- Firewall - MX65
- Switch - MS120-8PL
- AccessPoint - MR33
Registering the devices
At first you will have to log in to your Meraki Account. After the first login to your account you will be facing a pop-up that is asking you to register your devices.
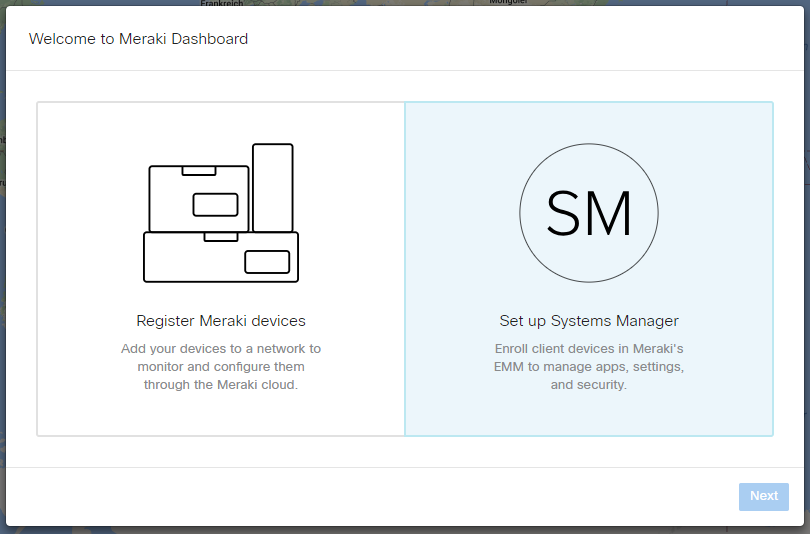
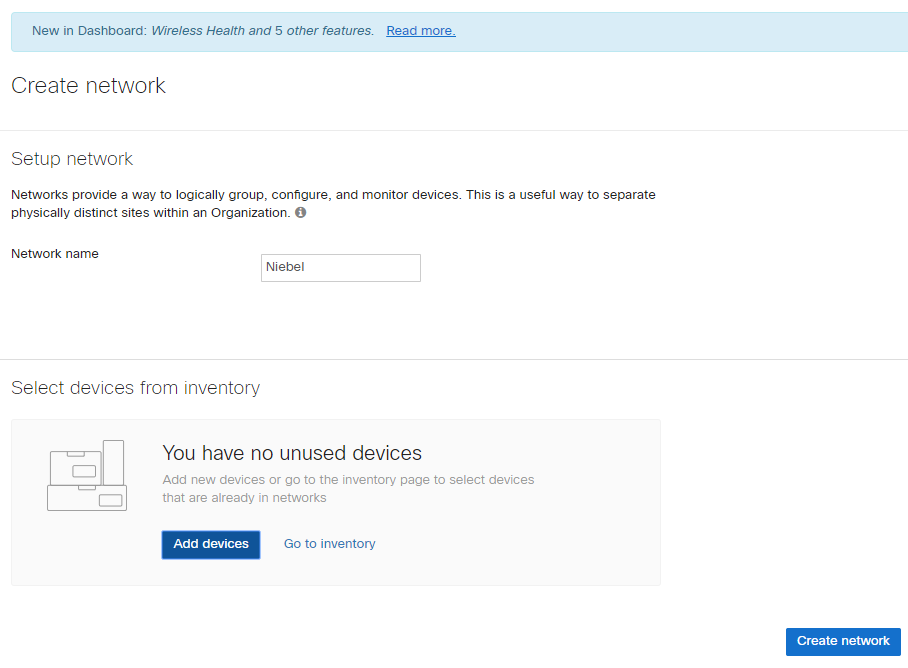
Select to Register Meraki devices and then click on Next. Since on a new account there are no networks that you can add these devices to, you will now be presented the Create Network wizard. Give the Network a name and go to Add devices to claim devices for this network.
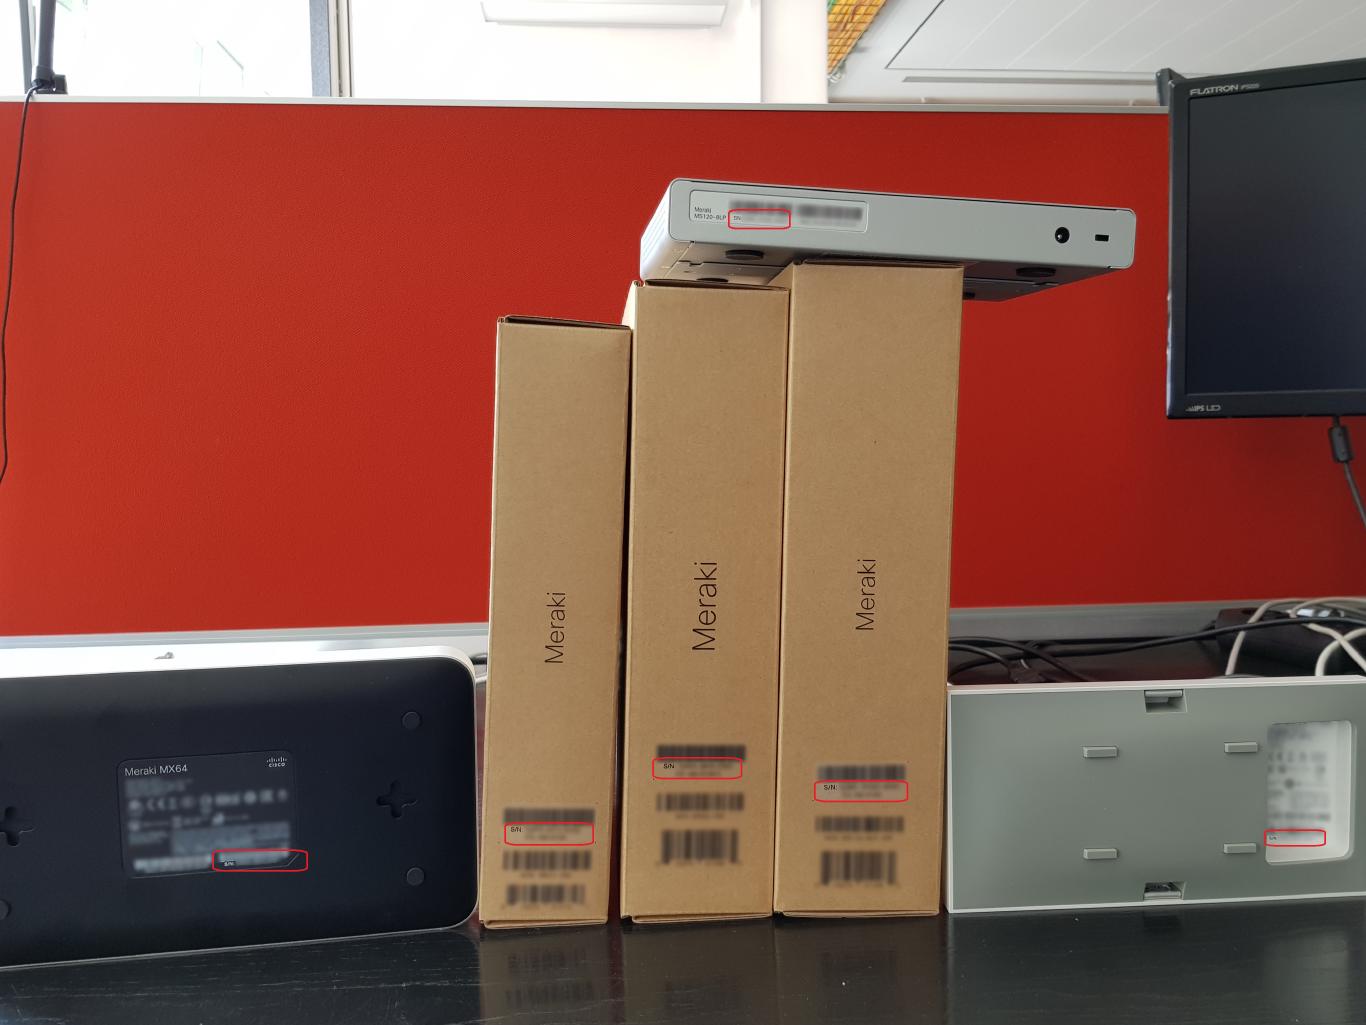
There will be another pop-up, asking you to enter the serial numbers of the devices you wish to add.
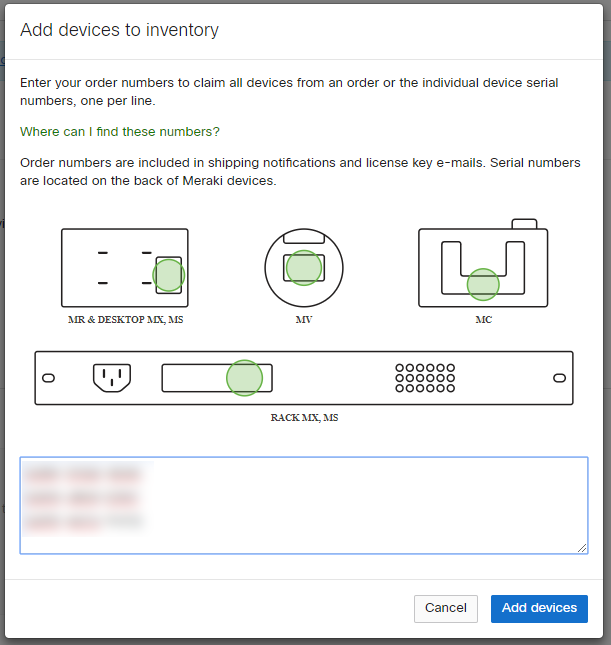
You will find these, as shown in the dialoge, on the devices or on the boxes they arrive in.
After you have claimed them, you can review the added devices before creating the network.

Cabeling
You could configure the devices before performing the cabeling, but in this case I am not going to. In a real world scenario this is a big advantage as you can already configure the devices before the hardware arrives at the customer.
At first we connect the uplink with the subtly labeled interface named “Internet”.

Then we connect the firewall to the switch. I like to use eth1 on both devices for that.
Then we connect the Access Point with one of the POE Interfaces. (In this case they are all POE Interfaces)
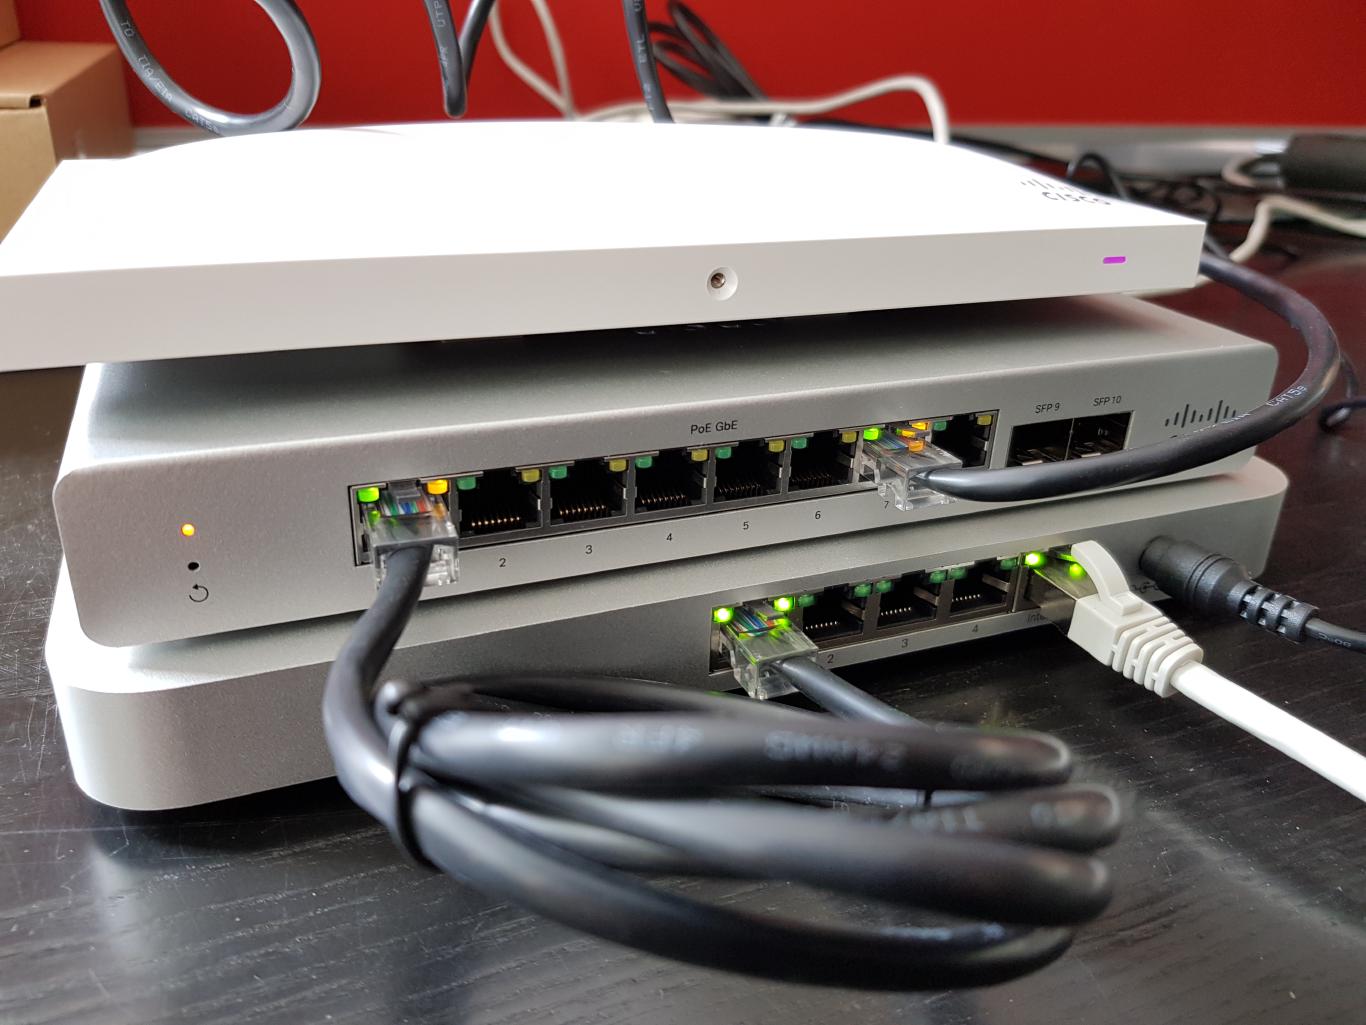
The status LED is showing you the current state of the device.

When the devices are starting they are connecting to the meraki servers. If they find a configuration on the servers that is more recent then the one that they are currently holding, they apply it.
After a while the devices should be online and be visible in the meraki portal.
Renaming devices
When you log in to the Meraki portal you should now see the left hand side navigation bar. Your organisation and network are already selected.
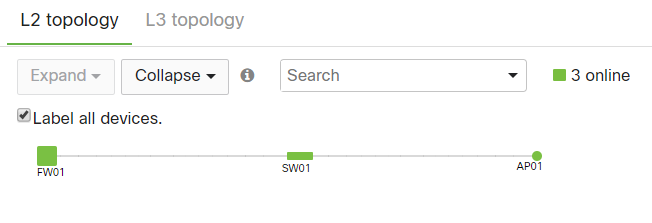
Go to Network-wide > Topology.
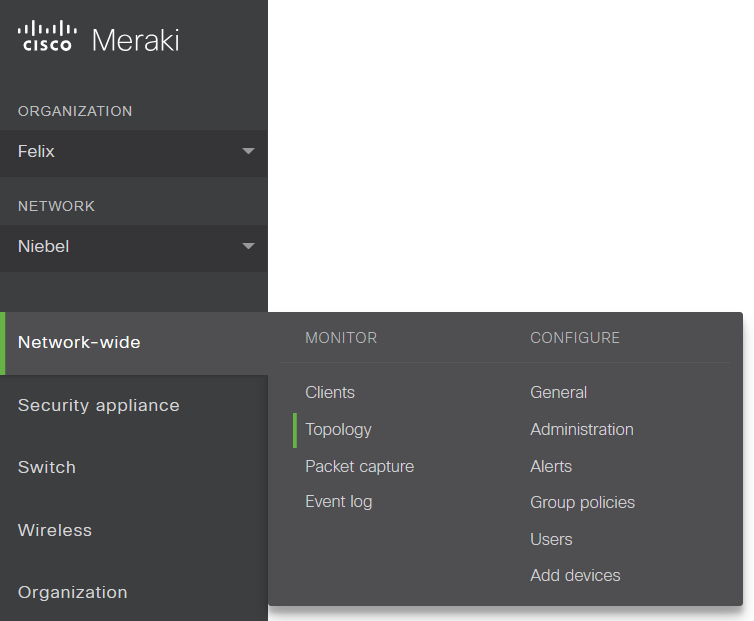
If your devices successfully connected to the Meraki Cloud they should appear as green. If not, the devices either have no route to the internet, did not complete booting yet or you have some other issue like a license problem or a hardware defect.

You will see that the devices are still named after thier MAC addresses. We should change that.
Go to the device that you want to rename, perform a mouseover and click on the devices name.
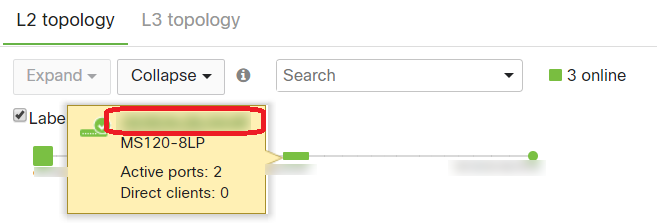
Here you can click on the pen symbol, change the name and add the correct address.

Especially when you are using dozens of sites with hundreds of devices it really pays out if you use this feature. Also you should upload Floor Plans at Wireless > Monitor > Map & floor plans and place the Access Points on them. This really eases troubleshooting when you are trying to figure out why a specific client is roaming like crazy or why a certain corner seems to have bad wifi.
The Topology View should now look like this.
Configuring the Access-Point
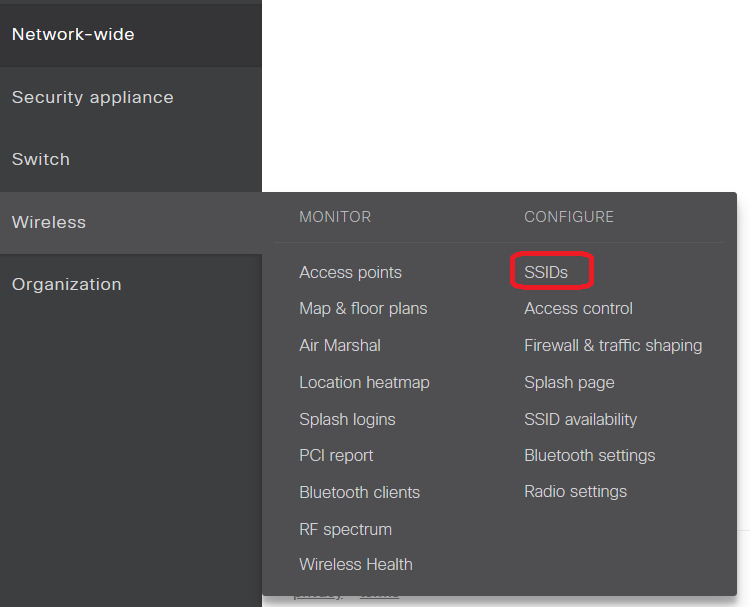
Next up we will take a look at what SSIDs the Access Point will send out. To do this we change to Wireless > Configure > SSIDs.
You will find that there already is an active SSID on your Access Point. We will rename it and save the configuration.
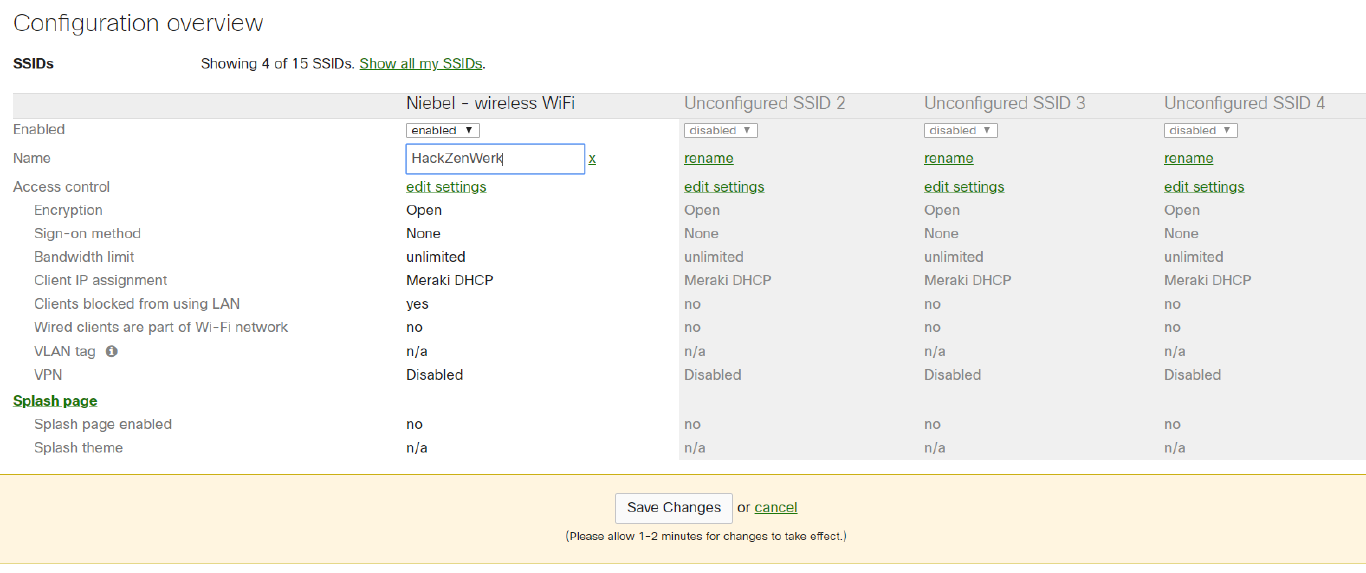
This SSID is currently “Open” and we should give it a password. To do this go to Access control > edit settings right under the name.
Most of these settings you do not have to touch on a first setup. I might go into them in other articles.
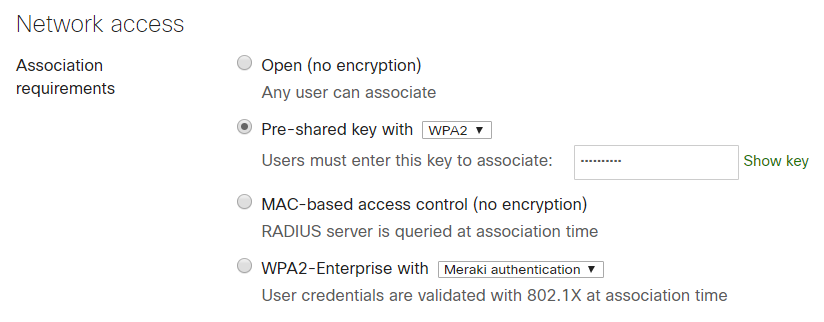
When editing the settings go to Network access select Pre-shared Key with WPA-2 and choose a password for your wifi.
In the Addressing and Traffic section I would suggest to use Bridged mode. This way all clients will be in the same Natwork. . If you are using the default NAT mode verwendet, all clients connecting to the Access Point will be put to into a separate network. In this separate network the devices are isolated from one another as well as the internal network and can only use the Internet.
This is perfect for a guest wifi and a good default for an unconfigured SSID. (Even though I think it is unprofessional that the devices have an open SSID as their default setting…)

Do not forget to save your configuration changes! This still is not enough for the clients connected to the wifi can communicated with clients in the LAN.
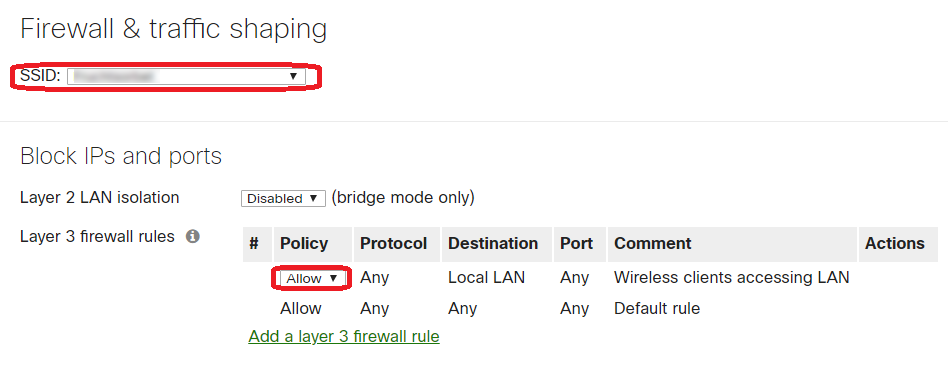
This first SSID has, in addition to the default of isolating the clients via NAT, another surprise for you. Go to Wireless > Configuration > Firewall & traffic shaping
Hooray! A layer 3 firewall rule that denies traffic of wireless clients accessing the LAN. Also this rule CAN NOT be deleted. You can change it from Deny to Allow however.
Setting the timezone
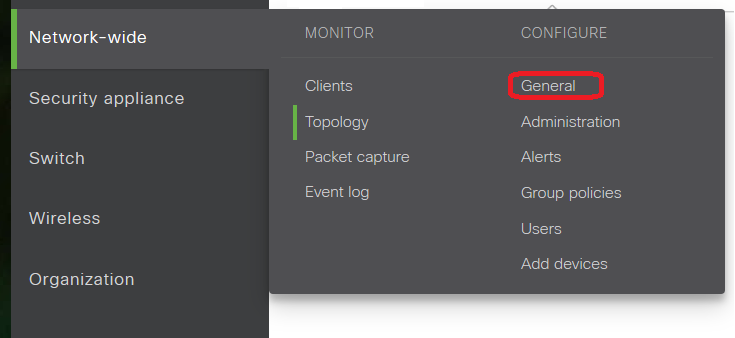
The last thing we need to do is set the timezone. Go to Network-wide > Configure > General
I choose Berlin.

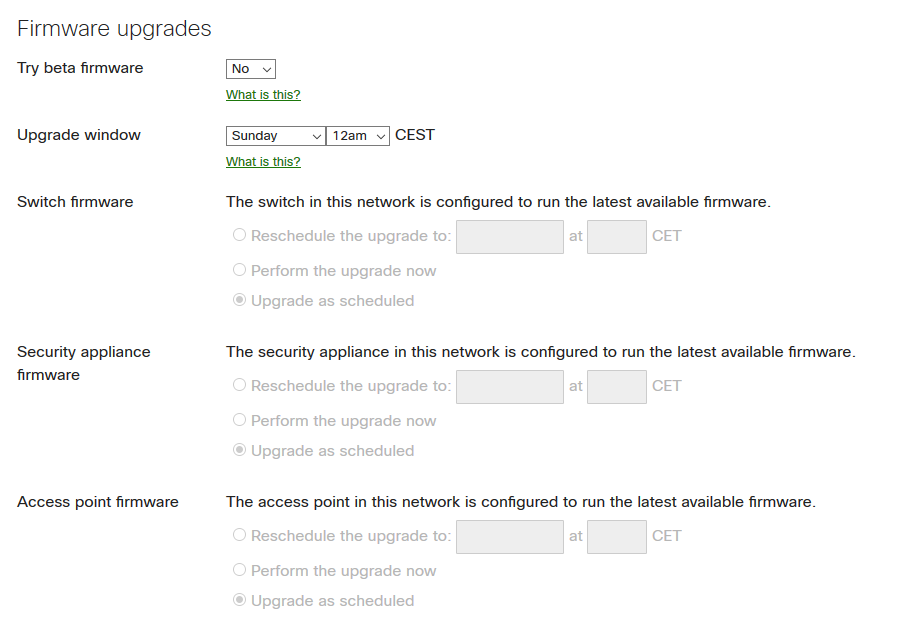
This is important so the automatic firmware updates get applied to the devices on the time you would expect them to. You can configure that at Network-wide > General > Firmware upgrades.
Cheers, Ori