To configure a Juniper router you have to connect to the Command Line Interface**.** In this article I will show you two ways to do this.
Mit der CLI Verbinden
To start the CLI you will have to connect via SSH or over Console Cable.
If the Juniper device already has an IP Address and you want to connect over SSH the linux terminal brings that out of the box. On windows you can use Putty or Bash from the Linux Subsystem for Windows.
The other option is using a serial cable and possibly a USB Serial Adapter.
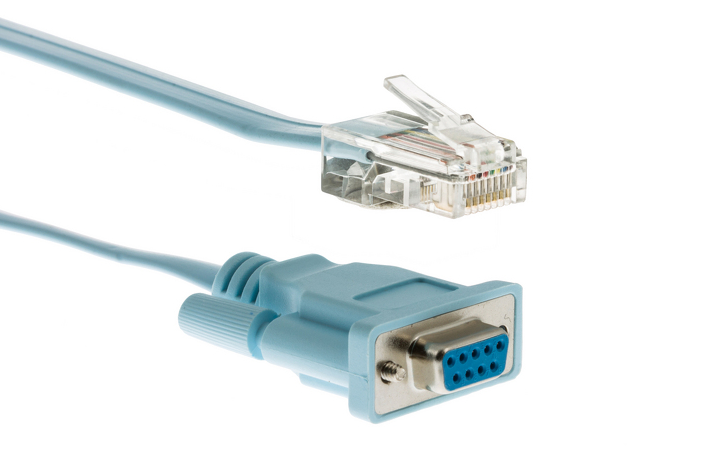
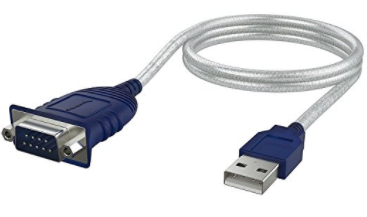
Connect the serial cable to the console port of the device and the other end to your laptop
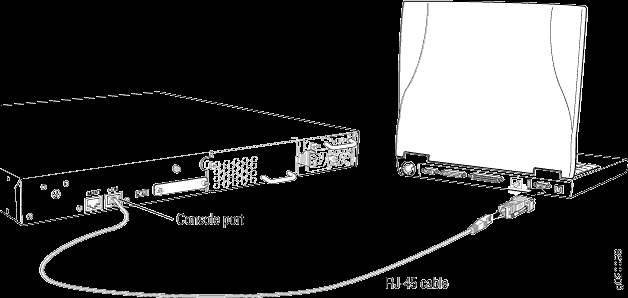
Diffrent then for example on cisco devices the console ports often are in the back. If they are mounted in a 19" rack this can mean that they are hard to reach.
To connect to a divice via Serial you have to know what COM Port they are on. In Windows you can check Device Management by pressing Windows+r > devmgmt.msc.

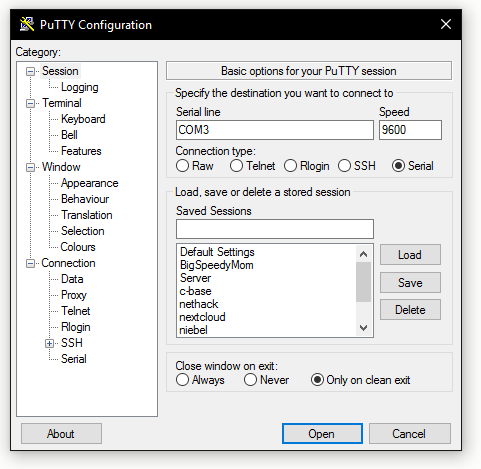
After that you have to change the Serial Settings in Putty. The other Serial options like baudrate are fine.
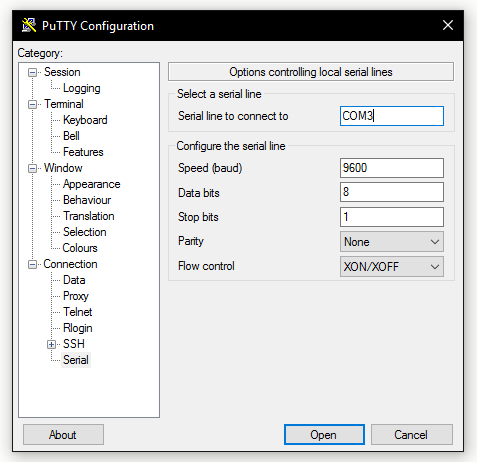
After that you can connect to the router using Session > Serial.
In Linux you can install minicom to connect to the router using the serial adapter.
sudo apt-get install minicom
After you have connected the serial cable using USB you can check dmesg for the new USB device.
dmesg | grep USB
Here you will find […] now attached to TTYUSB […] followd by a number. Now start serialcom and select the serial device /dev/ttyUSB
serialcom -s
Cheers, Ori